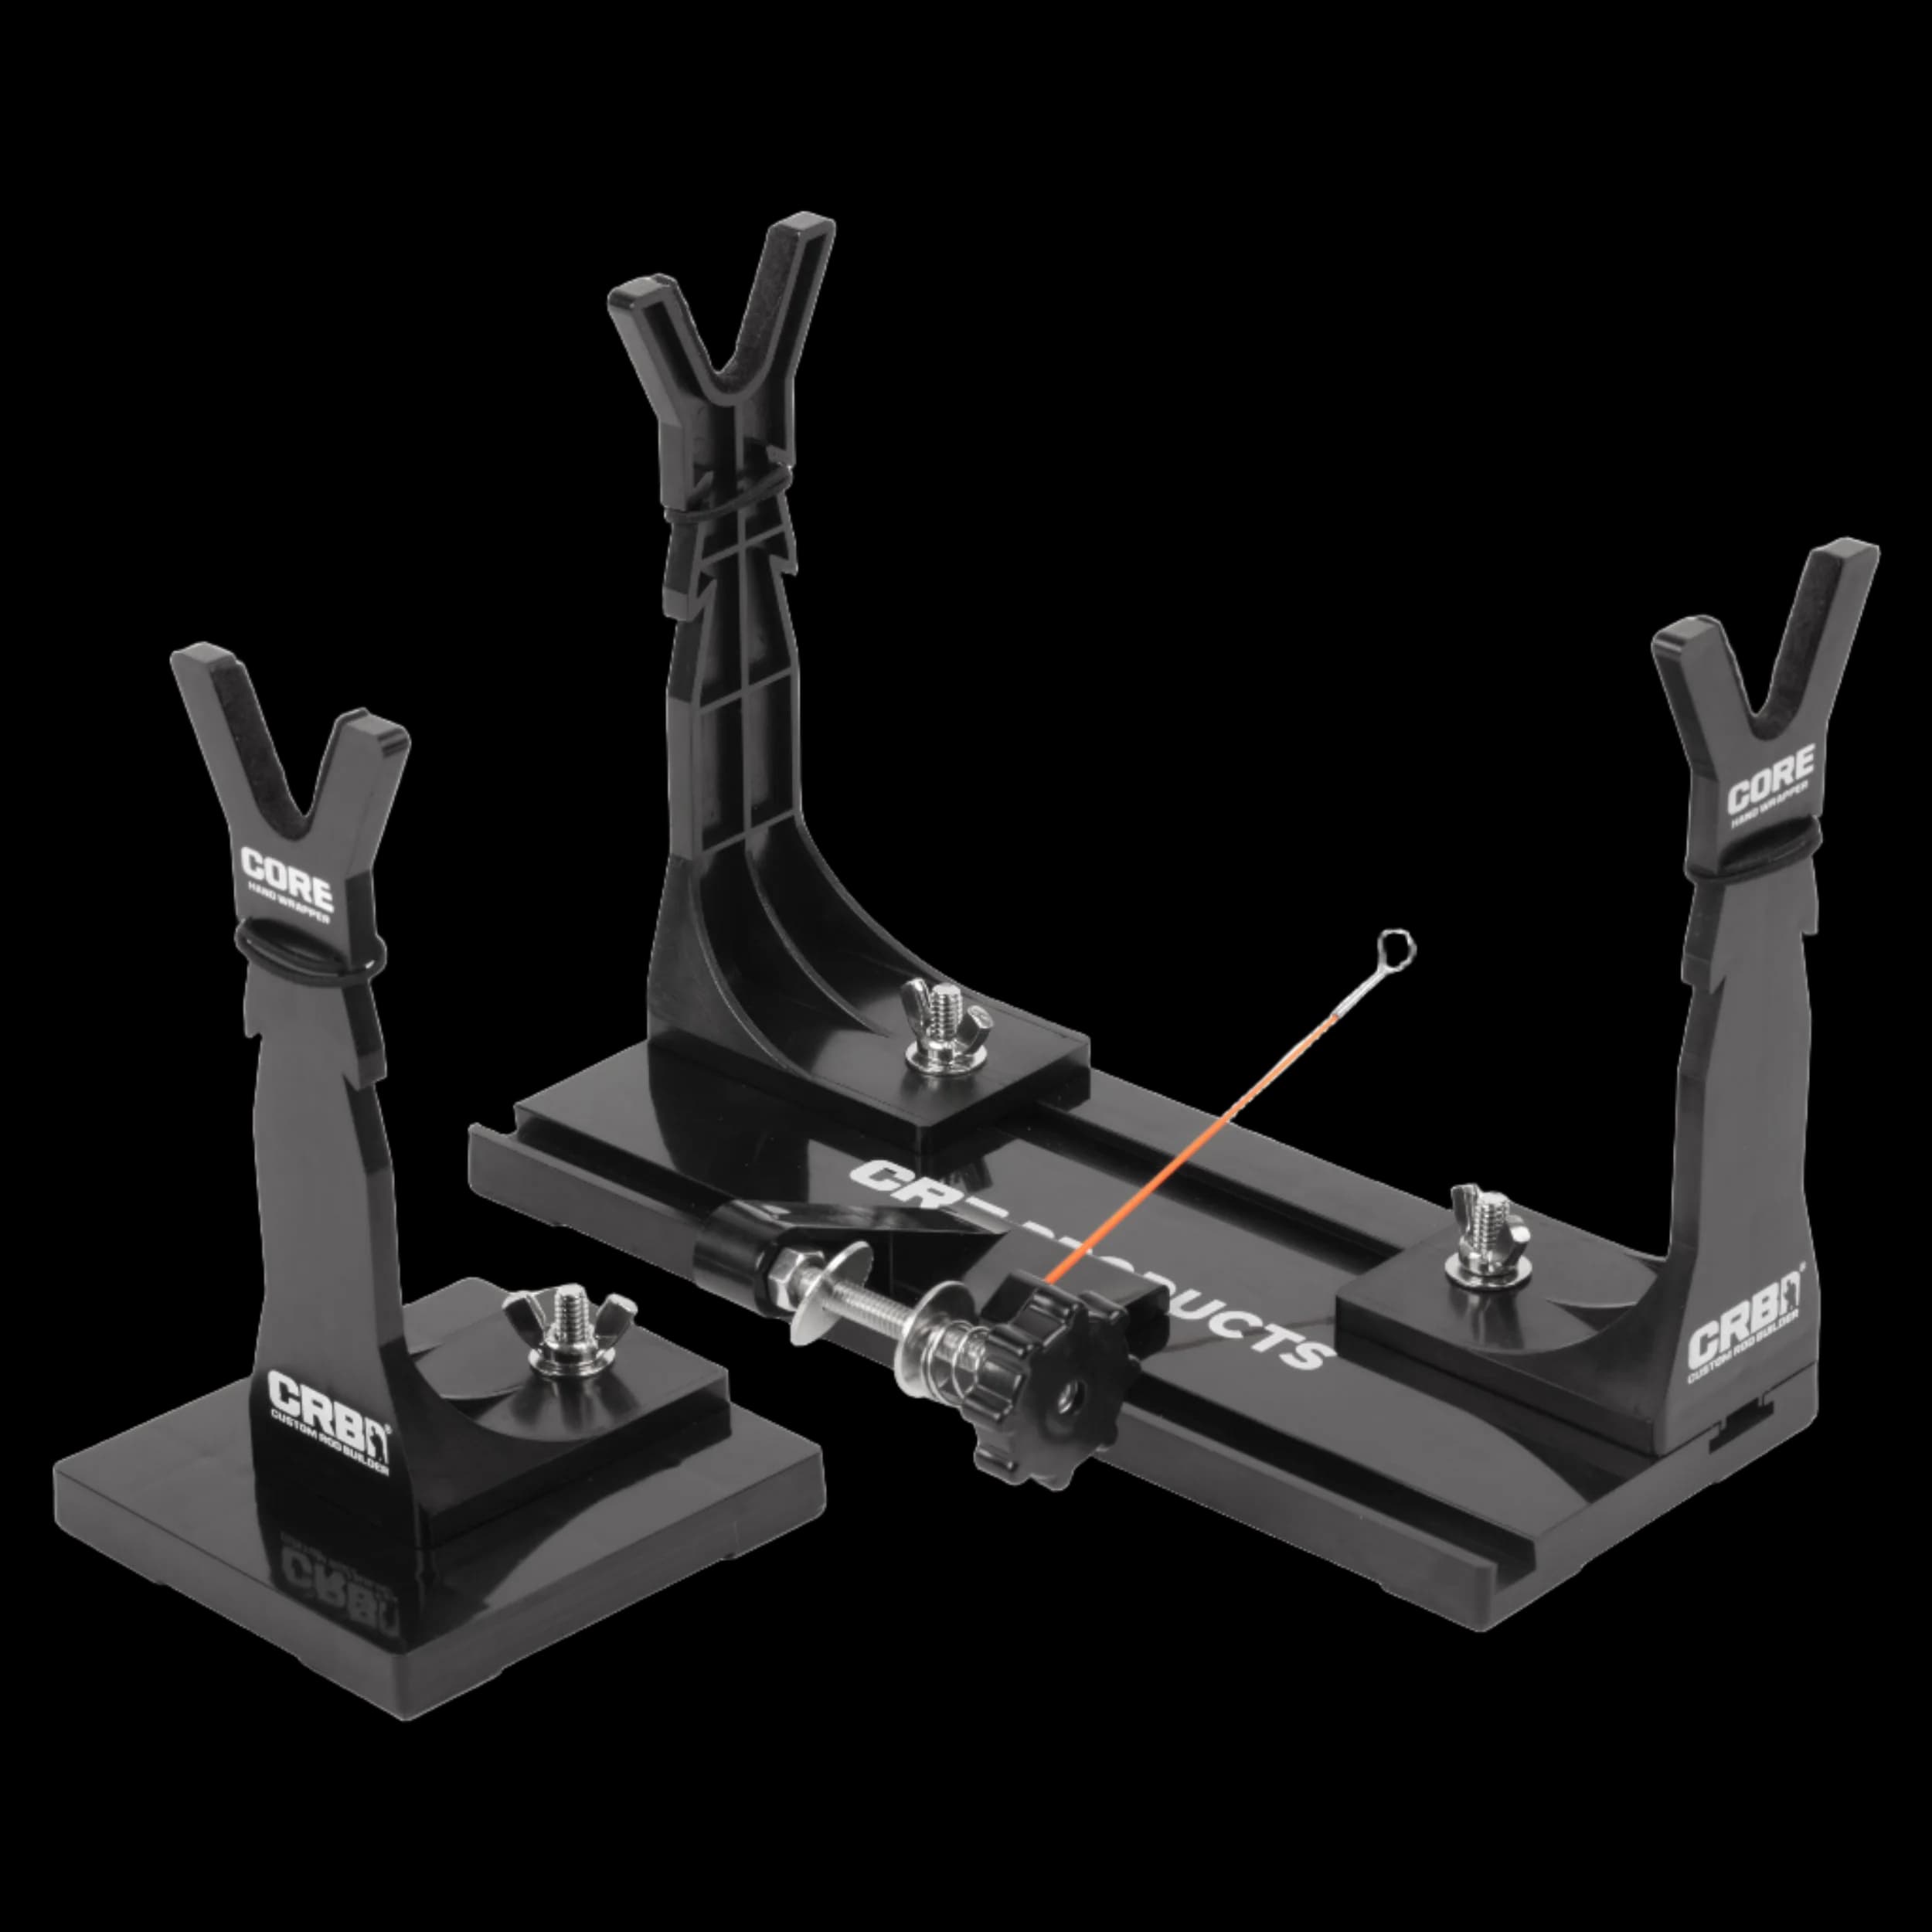
Start simple: a compact hand wrapper, a clean surface, and controlled thread tension will get most builders farther than an overbuilt bench.
A good rod building bench does not need to look like a commercial shop. For a first setup, the goal is not luxury; it is repeatability. You need a flat surface, stable rod support, clean lighting, organized supplies, and a way to rotate finish while it cures. Everything else can be upgraded later.
The budget rule is simple: buy the tools that control precision, DIY the furniture, and source used anything that is expensive but not consumable.
Start With the Bench, Not the Gadgets
The cheapest rod building bench is often the table you already own. A folding table, garage workbench, desk, or sheet of plywood on sawhorses can work as long as it is stable and long enough to support rod sections. If you want a purpose-built surface, a portable folding workbench like the DeWalt folding workbench is a useful option because it stores easily and can move between garage, apartment, and driveway setups.
What matters most is not the brand of bench. It is the working environment. Keep the surface level, wipe it down before finishing, and create a dedicated dust-free zone for epoxy work. A cheap LED shop light or clamp light is one of the best upgrades you can make because gaps, bubbles, uneven thread tension, and guide alignment problems are much easier to catch under direct light.
What to Buy New
1. A hand wrapper. This is the first tool worth buying instead of improvising. A wrapper gives you rod support, thread control, and a repeatable way to wrap guides. The CRB Core Hand Wrapper is a compact budget-friendly choice for small spaces. The Flex Coat HW1 Hand Rod Wrapper is a classic wooden option with a larger footprint and adjustable thread feed.
2. A rod dryer or drying motor. You can hand-turn finish in a pinch, but a dryer saves frustration and helps keep epoxy from sagging. A complete system like the CRB RDS Rod Dryer is the cleanest path. Builders who like DIY can buy a 9 RPM drying motor and build a simple support stand around it.
3. Finish, adhesive, and disposable supplies. Do not gamble on old epoxy. Buy finish and glue fresh. A small kit like Flex Coat Rod Wrapping Finish or a bundled Mud Hole rod building supply kit gets you finish, brushes, cups, sticks, and related consumables without piecing together every item individually.
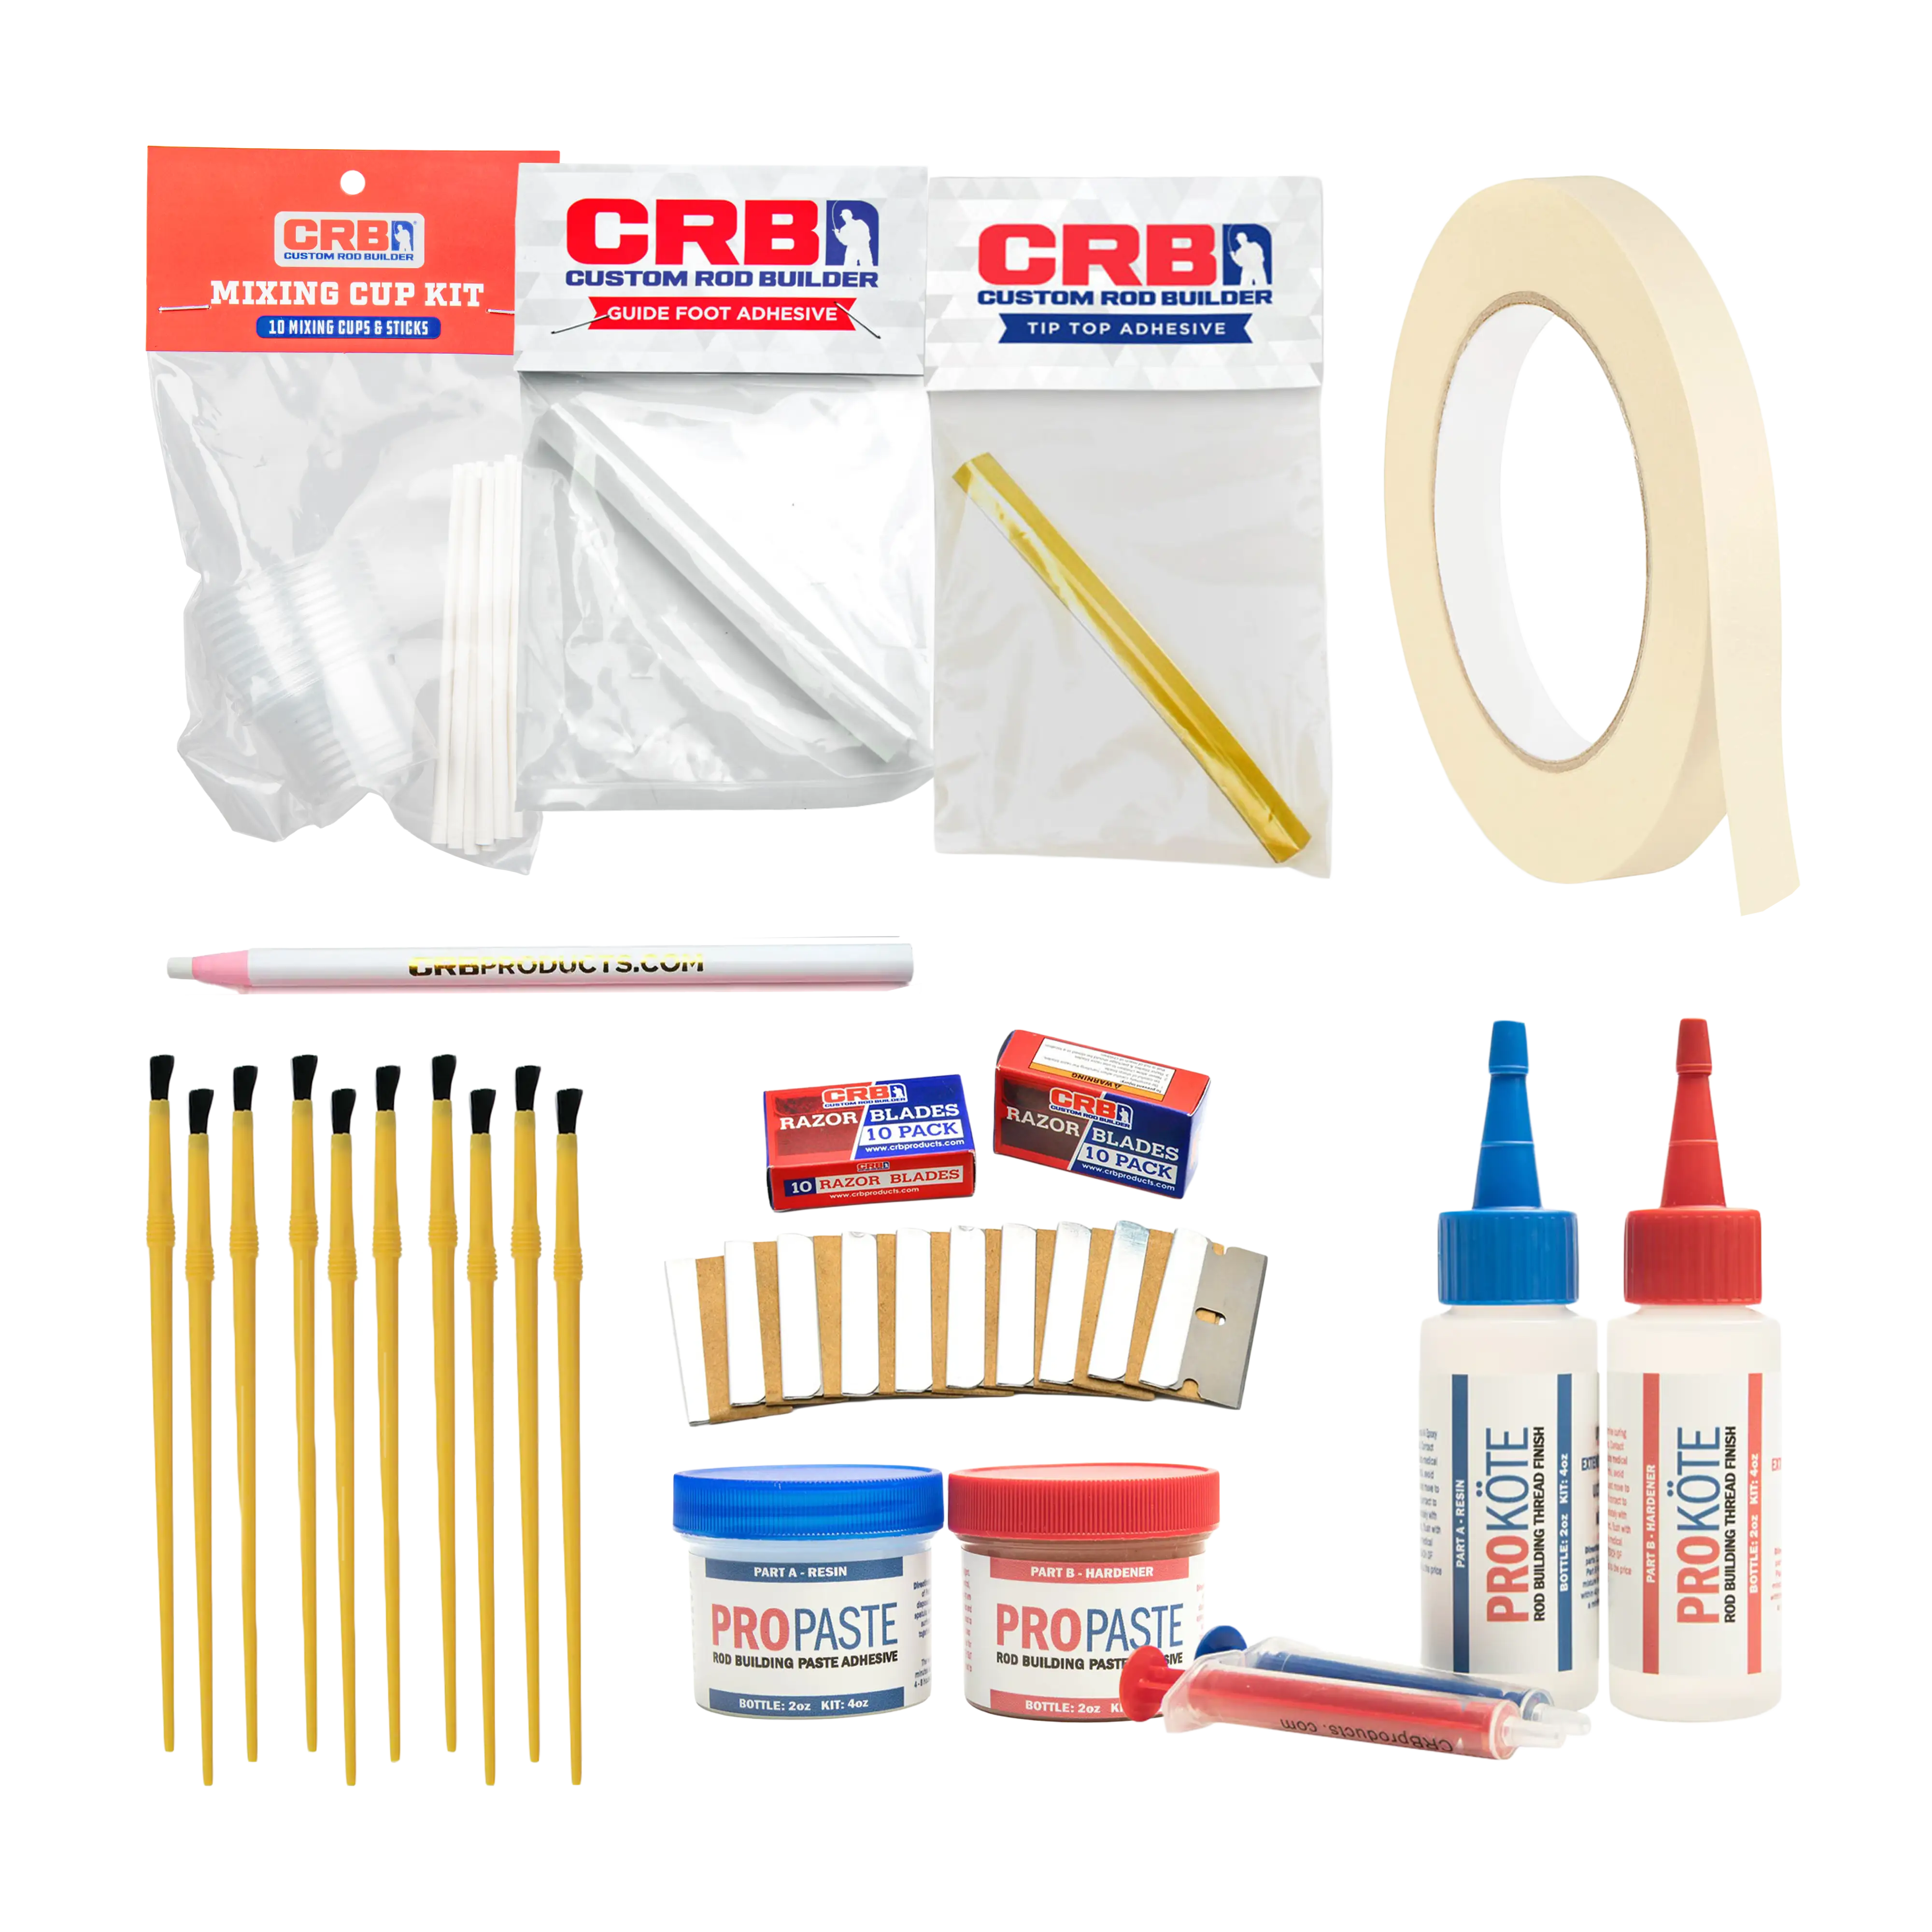
Consumables are worth buying fresh: finish, paste epoxy, brushes, mixing cups, tape, blades, and tip-top adhesive.
What to DIY
Rod supports. If your wrapper does not support the full length of a blank, make extra supports from scrap wood and felt, foam, or roller wheels. Cut a V-notch, pad the contact point, and make the support height adjustable with shims.
Thread storage. A dowel, pegboard, small tackle tray, or hardware organizer works well. Keep thread clean and dry, and avoid letting spools roll around the bench where they can collect dust or epoxy.
Dryer stand. A drying motor, a scrap board, a foam chuck or rubber chuck, and a padded V-block support can become a functional dryer. The key is alignment: the rod should rotate smoothly without wobble, and the section being finished should sit level.
Dust control. A clear plastic storage bin turned upside down makes a simple dust cover for drying guide wraps. This is not glamorous, but it protects finish during the hours when dust, hair, and garage debris can ruin an otherwise clean build.
Small Tools That Punch Above Their Price
A few low-cost tools make the bench feel much more capable. Add a thread burnishing tool to smooth and tighten wraps before finish. A thread tool combo is a cheap way to cover trimming, picking, and burnishing. For fitting grips, a CRB Tape Reamer is more controlled than forcing cork or EVA over a blank.
Also keep blue tape, china markers or grease pencils, single-edge razor blades, isopropyl alcohol, paper towels, nitrile gloves, mixing sticks, and small disposable brushes within arm’s reach. These are not exciting purchases, but they prevent messy work.

A dedicated rod dryer is one of the first upgrades that improves finish consistency.
What to Source Used
Used gear makes sense when the item is mechanical, sturdy, and easy to inspect. Look on Facebook Marketplace, eBay, local fishing forums, and rod building groups for power wrappers, upgraded stands, storage drawers, lights, and bench accessories.
Inspect used wrappers for wobble, missing chucks, weak motors, bent tracks, resin-covered supports, or rough thread tensioners. Used power wrappers can be a bargain, but only if they run smoothly. Avoid used finish, old adhesives, and mystery bottles. Epoxy shelf life and storage history matter, and a failed finish costs more time than a fresh kit.
A Practical Budget Shopping List
- Work surface: existing table, folding table, plywood top, or portable workbench.
- Wrapper: CRB Core Hand Wrapper or Flex Coat HW1.
- Dryer: CRB RDS Rod Dryer or a DIY stand built around a 9 RPM motor.
- Finish and supplies: Flex Coat finish kit or Mud Hole supply kit.
- Small tools: burnisher, thread clippers, razor blades, tape, mixing cups, brushes, and reamers.
- Lighting: clamp light, LED strip, or shop light positioned directly over the wrap area.
- Storage: pegboard, tackle boxes, drawer bins, or small parts organizers.
The Bottom Line
A budget rod building bench should be clean, stable, and easy to reset between steps. Spend money where precision matters: thread control, rod rotation, finish, and grip fitting. Save money on the table, storage, extra stands, and dust covers. Source used equipment once you understand what slows you down.
That is the best kind of bench: not the most expensive one, but the one that gets you building consistently.
Explore more rod building techniques, gear decisions, and builder workflows at Rodsmith.app.