Every new rod builder eventually stumbles onto one of those master gear lists — five different epoxy systems, a dedicated rod lathe, a motorized wrapper with variable speed, UV cure lamps, alignment jigs. It reads like someone's workshop inventory after fifteen years of building, not a starting point for your first rod. The result is that good builders get scared off or go broke on gear before they've wrapped a single guide.
Let's correct that. Here's what you actually need, what works fine as a substitute early on, and what belongs in a future wishlist rather than a first order.
The real short list
For a first build — let's say a spinning rod or conventional rod, which is where most people start — you need tools that accomplish five things: hold the blank while you wrap, rotate it while the finish cures, fit your components, apply your epoxy cleanly, and keep tension on the thread while you wrap. That's it. The complexity comes from the fish you're chasing and the finish work you want to do, not from basic function.
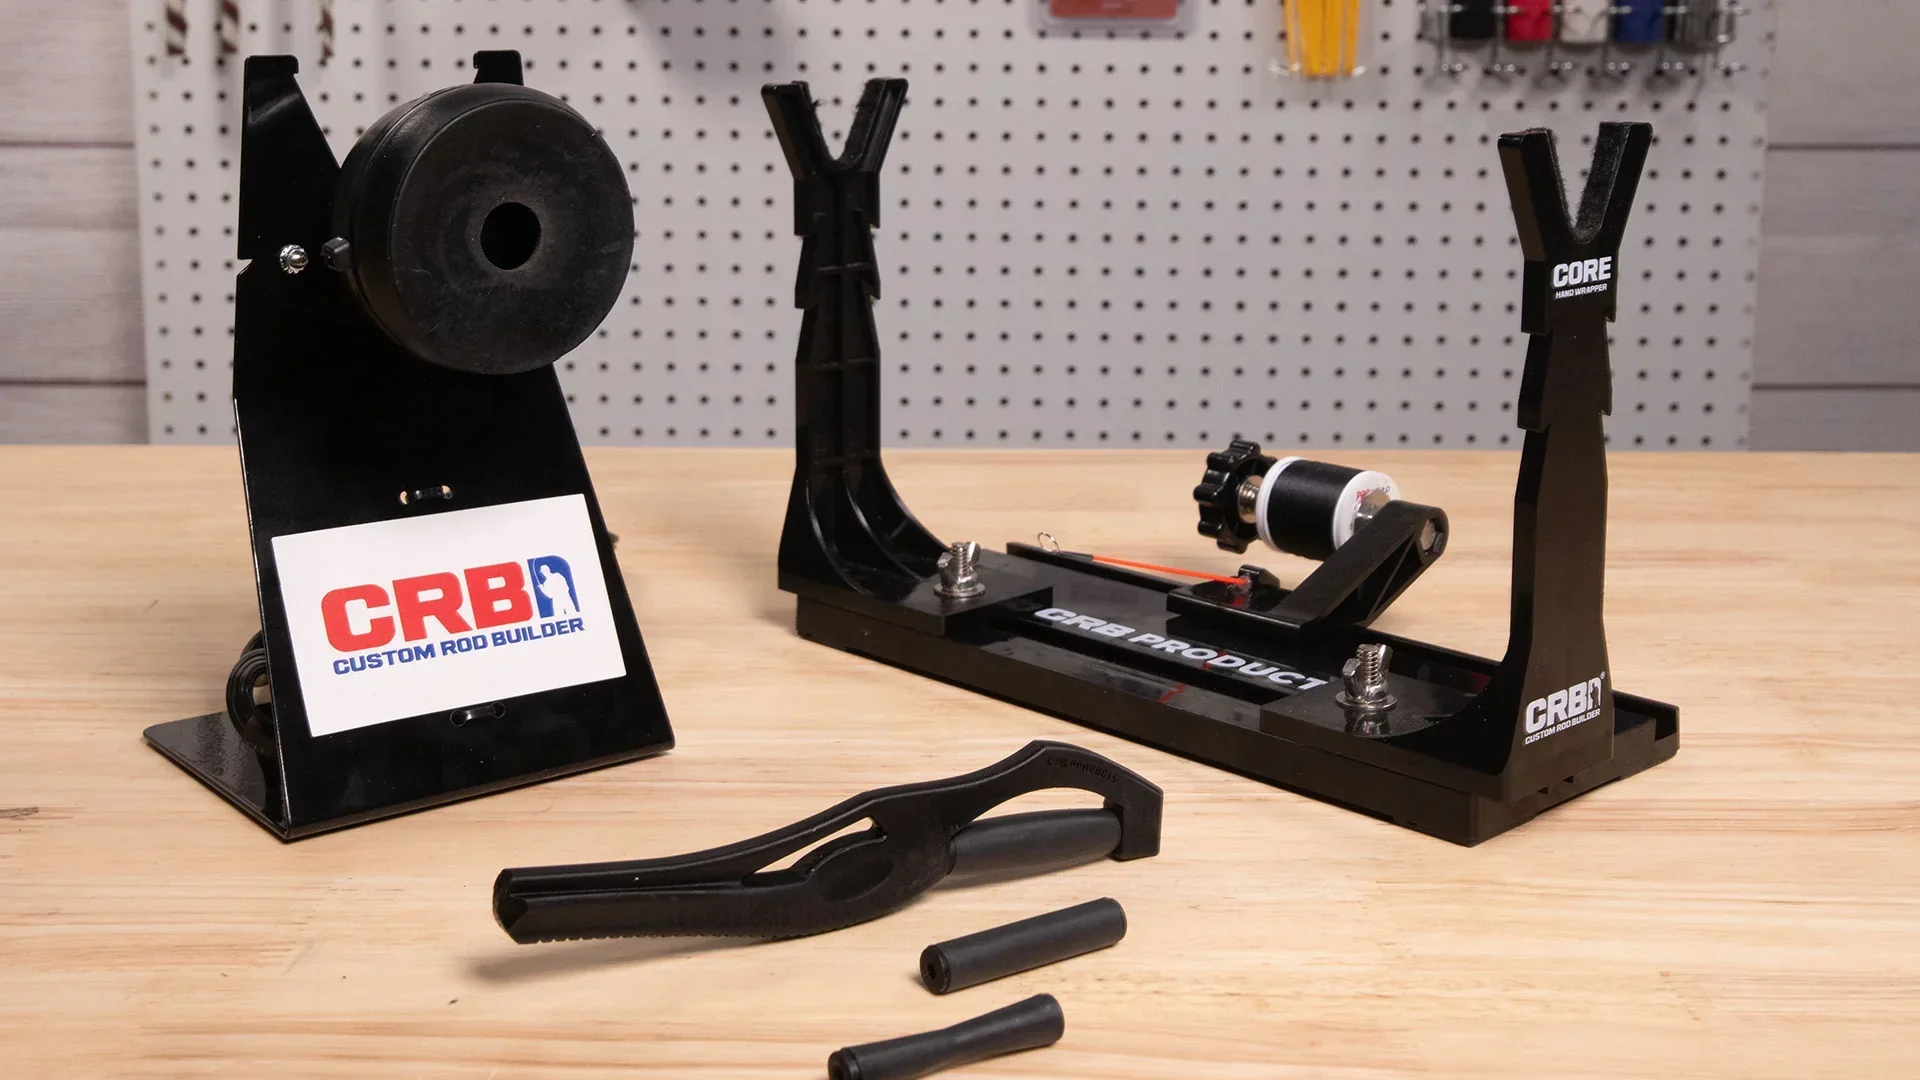
- Something to hold the blank and rotate it. This is your wrapper/dryer combo, and it's the one piece of equipment with no good permanent workaround. You need the blank supported at both ends, rotating freely, during both wrapping and finish curing — rotation during epoxy cure is what prevents sags and pooling. (See the image below, it's really just two forks to hold the blank) You can build your own for free, or for very low cost (YouTube tutorial), but entry-level options like the CRB RDS Rod Dryer run $40–80 if you want to buy. Most purchased kits come with a turning motor included these days, but if you're building your own setup a BBQ rotisserie motor does exactly this job for about $15, and standalone rod drying motors are available for around $25. Either way, 1–6 RPM is the sweet spot — slow enough that epoxy has time to level, fast enough to prevent runs.

- Reamers. Cork grips, EVA foam, and wood reel seat inserts almost never come with a bore that slides cleanly onto your blank without some fitting work. A tapered reamer lets you open up an undersized bore gradually and evenly, which is far cleaner than trying to sand freehand. If you happen to have old unused rod blanks laying around, you can just purchase some sand paper tape and wrap them around the blanks and use them as reamers. If you want to buy, a set of tapered cork reamers — the CRB or Flex Coat taper reamers are the standard options, roughly $20–40 depending on the set.
- Epoxy mixing supplies. You'll need disposable mixing cups (graduated, the small ones), wooden stir sticks or cheap disposable brushes, and either rubbing alcohol or denatured alcohol for thinning and cleanup. This whole kit costs under $10 if you're buying generic supplies from the hardware store. One note: don't cheap out on the cups. Wax-lined paper cups contaminate epoxy. Use unwaxed plastic or the small graduated cups sold specifically for epoxy work.
- Tape and razor blades. Low-tack masking tape — Scotch Blue or Frog Tape work fine — is how you mark your guide positions and protect sections of blank while you work. A fresh single-edge razor blade trims wrap starts and ends and scores tape cleanly. Go through razors — a dull blade drags and tears. Buy a 100-pack and treat them as disposable.
- Thread tension. Consistent thread tension is what separates clean, professional-looking wraps from ones that look like they were done on a moving bus. Most builders who wrap by hand use a thread bobbin, which gives you a natural amount of drag, and you can find a bobbin for $9. If you want to purchase a dedicated thread tensioner, it'll run around $10–15.

What substitutions work fine at the start
A dedicated thread burnishing tool is useful for compressing and polishing wraps, but in the short term the back of a smooth plastic rod, a ballpoint pen cap, or a burnishing stick cut from scrap cork all work. The goal is applying even pressure along the wrap to seat the thread.
Digital calipers — ideally a 6-inch pair — are eventually very helpful for quickly and precisely checking reel seat IDs against blank ODs, sizing arbors, and fitting cork grips. But on your first build, if you're using a kit where the blank was spec'd for the seat included, or if you don't want to buy more stuff, just use a tape measurer.
What can genuinely wait
A motorized wrapper. Hand-wrapping is slower, but it builds feel and gives you a fundamental understanding of thread tension that motorized wrappers can obscure. Build two or three rods by hand, then you can consider motorized, if at all. The same goes for variable-speed rod lathes — they're wonderful for cork turning and grip shaping, but they're a purchase that can wait until you get seriously involved.
A complete UV cure system. UV-cure rod finishes like Flex Coat UV or Rod Bond UV are popular because they cure in minutes rather than overnight. But they require a UV lamp, they have specific application requirements, and they don't forgive the same minor errors that a two-part epoxy system does. Two-part systems are more forgiving for beginners and cure just fine without any equipment beyond a slow-turning dryer.
Thread art supplies beyond what you need for functional wraps. Color-change threads, metallic flats, variegated NCP threads, interweaves — all of this is genuinely fun and worth learning eventually. But on your first build, use a basic size A or D rod thread in a single color. Get your spacing and application dialed in before you start designing chevrons and Celtic weaves.
The workbench reality
You can build a complete, fishable rod on a kitchen table with a $40 cradle setup, a $9 thread tensioner, $15 in epoxy supplies, some homemade reamers, and a $10 box of foam and tape. That's the truth. I've watched accomplished builders produce beautiful work on folding tables in back rooms with no dedicated shop at all.
What matters more than equipment at the start is working cleanly — having good light, keeping surfaces free of dust (the enemy of a clear finish), mixing epoxy for exactly the time and ratio the manufacturer specifies, and letting things fully cure before you handle them. No piece of equipment compensates for rushing.
The gear serves the rod. Start there.
This article is part of the RodSmith Getting Started series. Next: Rod Action vs Power Explained: How to Choose the Right Blank